As an AWS customer, you likely know that AWS bills you monthly for your usage of their cloud services But how exactly do you go about paying your AWS bill? In this comprehensive guide, I’ll walk you through the entire process of paying your AWS bill, from viewing your charges to setting up payment methods.
Overview of the AWS Billing Process
Let’s start with a quick rundown of how AWS bills and charges for services:
-
AWS bills you monthly based on your usage of their services like EC2 S3 Lambda, etc.
-
Near the start of each month, AWS sends you a monthly invoice detailing your charges from the previous month. This invoice totals up your usage across all services.
-
The invoice also lists any credits, refunds, taxes or other adjustments. The final amount is what you actually owe AWS for that month.
-
AWS gives you a couple ways to pay your monthly bill. The easiest is to enable auto-pay with a credit card or bank account. Or you can manually pay invoices through the Billing console.
-
Unpaid invoices incur late fees, so it’s important to pay your bill on time every month. AWS will eventually suspend your services for non-payment.
Here are the steps you need to take to see how much you’re spending on AWS, set up payment methods, and pay your monthly bills.
Viewing Your AWS Account Activity and Charges
The first step to paying your AWS bill is having visibility into your charges. Here’s how to view your account activity and estimated monthly charges:
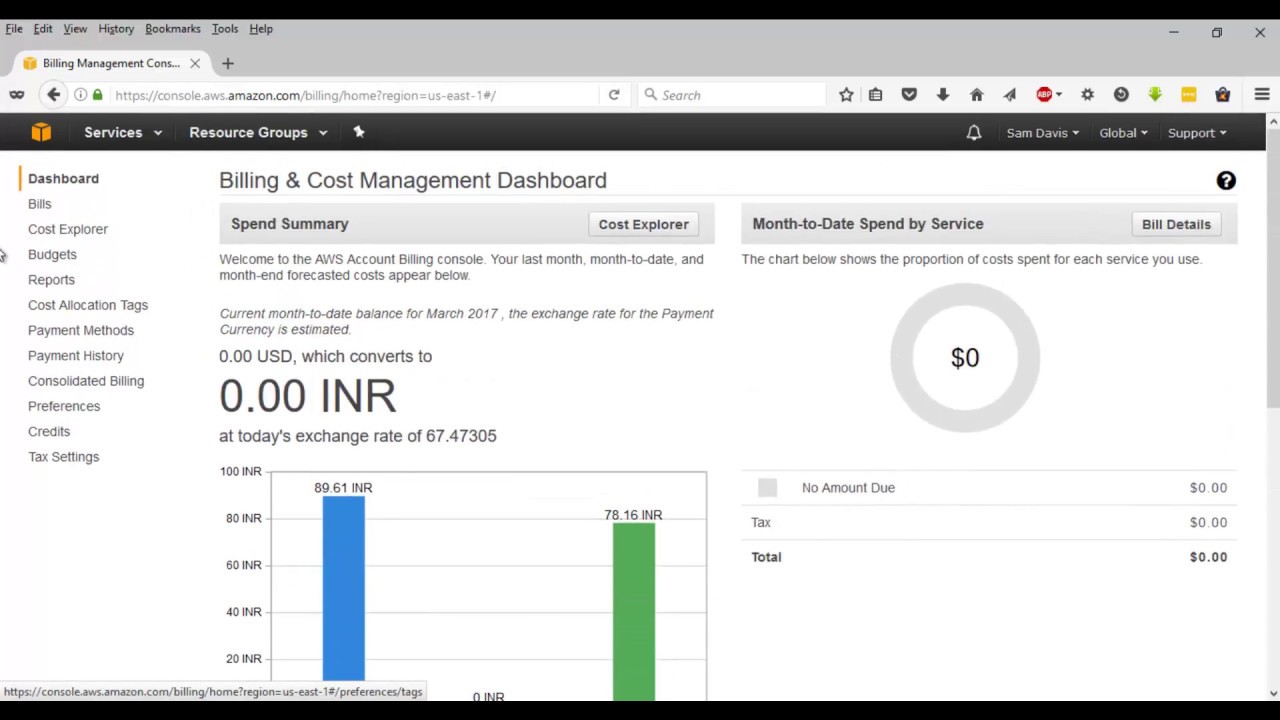
Check your AWS Cost Explorer Dashboard
The Cost Explorer Dashboard lets you see your AWS costs and usage in real time. It keeps track of what you’ve spent so far this month so you can get an idea of your final bill.
To view your Dashboard:
-
Go to the Billing console and click into Cost Management.
-
Click Cost Explorer. This shows your Dashboard with spend metrics and breakdowns by service.
-
Check the month-to-date estimated charges at the top. This approximates your final monthly bill.
Enable detailed billing reports
For a more detailed breakdown of your usage and activities, you can enable detailed billing reports. This gives you an hourly or daily CSV file of all your AWS usage.
To start detailed billing reports:
-
In the Billing console, click Billing Preferences.
-
Under Detailed Billing Reports, click Edit.
-
Choose to receive detailed billing reports by S3, email or both.
-
Click Save.
You will now receive detailed CSV reports each month with a line-by-line breakdown of your usage and charges.
Checking Your Monthly Invoice
About 5 days after the start of each month, AWS generates your official invoice containing your finalized charges for the previous month. Here’s how to view your monthly invoice:
-
In the Billing console, click Bills in the left menu.
-
This shows your Bills page with a list of all monthly invoices. Click into the invoice you want to check.
-
The invoice summary shows your total charges plus any taxes, credits or adjustments.
-
Scroll down to see a breakdown of charges by AWS service and usage type.
-
You can also click Download Invoice to save the PDF document for your records.
Checking your monthly invoices ensures you’re aware of your final charges each month before your payment method gets charged.
Setting Up an AWS Payment Method
To pay your AWS bill, you need to register a payment method like a credit card or bank account. Here are the steps to add and manage payment methods for your AWS account:
Add a new credit card
-
Go to the Billing console and click Payment methods in the left menu.
-
Click Add payment method and choose Credit card.
-
Enter your card details and billing address.
-
Click Add credit card to save it to your account.
Add a bank account for ACH payments
You can link a bank account to pay invoices directly from your checking account via ACH debit.
-
In Payment methods, click Add payment method and choose Bank account (ACH).
-
Enter your bank account details and link your bank.
-
Confirm the small test deposits AWS makes into your account.
-
Your bank account will be saved for ACH debits when paying AWS bills.
Choose a default payment method
Set your preferred payment method as the default for paying invoices:
-
In Payment methods, click the radio button next to your desired default method.
-
Click Set as default below it. AWS will now default to this payment method when charging invoices.
With a registered payment method, you’re ready to pay your AWS bill either automatically or manually.
Paying Your AWS Bill with Auto-Pay
The easiest way to pay your monthly AWS bill is enabling auto-pay. With auto-pay enabled, AWS will automatically charge your default payment method to pay the invoice a few days after it generates.
Here is how to enable auto-pay for your AWS account:
-
Go to the Billing Preferences page in the Billing console.
-
Under Invoice payment methods, click Edit.
-
Check the box to enable Automatic payment methods.
-
Choose your default payment method from the dropdown.
-
Click Save changes.
That’s it! AWS will now automatically pay all your monthly invoices going forward. You’ll no longer have to manually pay each month.
Manually Paying Your Monthly AWS Invoice
If you prefer not to use auto-pay, you can manually pay each of your monthly invoices. Here are the steps to manually pay AWS invoices:
-
Go to the Payments section of the Billing console.
-
Find the invoice you want to pay in the Payment Due table. Click Pay.
-
Verify the payment details are correct.
-
Click Pay with default payment method to complete the payment.
-
Your chosen payment method will be charged the invoice amount.
The invoice will show as Paid once the payment processes successfully. Remember to come back and manually pay each new invoice within a few days of it generating.
Getting AWS Billing Alerts
To stay on top of your AWS bill, make sure to enable billing alerts. You can get alerted for things like:
-
Your estimated monthly charges exceeding a threshold
-
Your payment failing
-
A credit card expiring
-
Your invoice becoming past due
To set up billing alerts:
-
Go to the Billing Preferences page.
-
Under Billing alerts, click Manage alerts.
-
Click Create billing alert and configure your alert criteria.
-
Choose to get alerted via email, SMS or both.
-
Click Create alert to save your new alert.
Enabling billing alerts helps you stay informed of billing issues before they become problems. You can create multiple alerts for different thresholds and events.
Avoiding Late Fees and Service Suspension
AWS will charge late fees if your monthly invoice goes unpaid past the due date. If your bill remains unpaid, AWS will eventually suspend all your services until you pay off the past due amount.
To avoid late fees and suspension:
-
Enable auto-pay so your invoices get paid on time without you having to remember.
-
Manually pay invoices within a few days of receiving them if not using auto-pay.
-
Set up billing alerts to be notified of past due invoices.
-
Make sure your credit card doesn’t expire or your bank account has sufficient funds.
-
Contact AWS support if you need help resolving billing issues or past due invoices.
Staying on top of your AWS billing is crucial for avoiding costly late payment penalties.
Getting Help with Your AWS Bill
If you ever have questions or issues related to your AWS billing or payments, there are resources that can help:
-
The AWS Billing and Cost Management documentation provides in-depth guides on managing billing.
-
You can use the AWS Support Center to create support cases for billing and payment issues.
-
AWS offers training courses on cloud billing concepts and best practices for cost optimization.
-
Your AWS account manager can answer billing questions or escalate issues to the billing support team.
How to pay bill on AWS account cloud
FAQ
When should I pay my AWS bill?
What will happen if I don’t pay my AWS bill?
Does AWS automatically bill you?
How do I make a payment using AWS billing & cost management?
You can use the Payments page of the AWS Billing and Cost Management console to perform the following tasks for all payment types: AWS charges your default payment method automatically at the beginning of each month. If that charge doesn’t process successfully, you can use the console to update your payment method and make a payment.
How do I Manage my AWS payment methods?
You can use the Payment preferences page of the AWS Billing and Cost Management console to manage your AWS payment methods. IAM users need explicit permission to access some of the pages in the Billing console. For more information, see Overview of managing access permissions.
Can I pay my AWS bill with multiple payment methods?
I want to pay my AWS bill with multiple payment methods. You can’t divide a single AWS bill between multiple payment methods. However, you can to your AWS account, and then change the default payment method.
How do I view my AWS payments?
View your AWS payments You can view the history of your AWS payments in the Payments pane of the Billing and Cost Management console. If your seller of record is Amazon Web Services, then AWS automatically charges your default payment method between the 3rd and 5th of the following month.